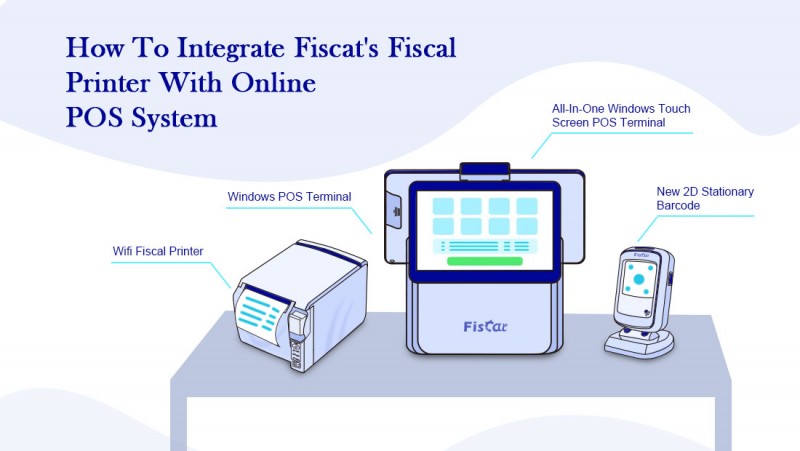
How To Integrate Fiscat's Fiscal Printer With Online POS System

Integrating Fiscat's Fiscal Printer with an online Point of Sale (POS) system can streamline your business operations by ensuring that all sales transactions are accurately recorded, printed, and reported in compliance with local tax laws. Below is a step-by-step guide to help you integrate Fiscat's Fiscal Printer with your online POS system.
Why Integrate Fiscat's Fiscal Printer with an Online POS System?
1. Compliance: Ensures all transactions are reported according to local tax regulations. 2. Efficiency: Automates the transaction process, reducing manual errors and saving time.
3. Real-Time Reporting: Provides instant access to sales and tax data.
4. Centralized Management: Allows you to manage sales, inventory, and reporting from a single platform.
Step-by-Step Guide to Integration
Step 1: Gather Necessary Information
Before starting the integration process, ensure you have the following:
1. Fiscat Fiscal Printer Model:
• Confirm the specific model (e.g., FP MAX801) you are using.
2. Online POS System Details:
• Name and version of the POS system (local distributor will provide).
3. API Documentation:
• Obtain the API documentation for both the fiscal printer and the POS system.
4. Network Access:
• Ensure the fiscal printer and POS system are on the same network or can communicate via a secure connection.
Step 2: Enable API Access for Fiscat Fiscal Printer
1. Locate the API Settings:
• Access the settings menu on your Fiscat Fiscal Printer.
• Look for options related to API integration or communication protocols.
2. Enable API:
• Turn on the API functionality and note down the API key or endpoint URL. • Some models may require you to configure network settings (e.g., IP address, port number).
3. Test API Connection:
• Use a simple API testing tool (e.g., Postman or cURL) to confirm that the fiscal printer's API is accessible.
Step 3: Configure the Online POS System
1. Access Integration Settings:
• Open your POS system's admin panel and navigate to the integration or add-on section.
2. Search for Fiscat Integration:
• Look for a pre-built integration for Fiscat Fiscal Printers. If available, follow the installation instructions.
• If no integration exists, check if the POS system supports custom API connections.
3. Set Up Custom API Connection:
• If a pre-built integration is not available, you may need to create a custom integration:
• Define the API endpoint for the fiscal printer.
• Map the required fields (e.g., transaction details, tax rates).
• Set up security protocols (e.g., API keys, SSL certificates).
4. Test Integration:
• Perform a test transaction to ensure the POS system communicates successfully with the fiscal printer.
Step 4: Map Transaction Data
1. Align Data Fields:
• Ensure that the transaction data sent from the POS system matches the required fields for the fiscal printer (e.g., item name, quantity, price, tax category).
2. Customize Receipt Format: • Configure the receipt format in the fiscal printer settings to reflect your business branding and required information.
Step 5: Final Testing and Troubleshooting
1. Run Test Transactions:
• Perform several test transactions to ensure that:
• The receipt is printed correctly.
• The transaction data is recorded in both the POS system and the fiscal printer.
• All taxes and compliance requirements are met.
2. Check for Errors:
• Monitor the logs or reports for any errors or discrepancies.
• Common issues include:
• Network connectivity
• Mismatched data fields
• Timeout errors
3. Maintenance and Updates:
• Regularly update the fiscal printer's firmware and the POS system's software to ensure compatibility.
Step 6: Train Your Staff
1. Provide Training:
• Educate your staff on how to use the integrated system.
• Emphasize the importance of ensuring that all transactions are processed correctly.
2. Create Documentation:
• Develop a quick reference guide for common tasks, such as printing a receipt, troubleshooting connectivity issues, or handling customer refunds.
Common Integration Challenges and Solutions
1. Compatibility Issues:
• Problem: The POS system and fiscal printer may use different communication protocols.
• Solution: Use middleware or a third-party integration service to bridge the gap.
2. Latency in Data Transfer:
• Problem: Transactions may take too long to process.
• Solution: Optimize network settings and reduce the size of data packets being sent.
3. Compliance Errors:
• Problem: Transactions may not comply with local tax regulations.
• Solution: Double-check the tax settings in both the POS system and the fiscal printer.
4. Printer Paper Issues:
• Problem: Receipts may not print correctly.
• Solution: Ensure that the printer is properly maintained and that paper roll installed correctly .
Conclusion
Integrating Fiscat's Fiscal Printer with your online POS system is a significant step toward improving efficiency, ensuring compliance, and enhancing customer experience. By following this guide, you can successfully set up the integration, test the system, and train your staff to use it effectively.
If you encounter any challenges during the process, don't hesitate to reach out to Fiscat's support team for assistance. With their expertise and your commitment to the integration process, your business will benefit from a seamless and reliable transaction system. Ready to integrate your Fiscat Fiscal Printer? Contact Fiscat today for more information or assistance!


